
What Is an Automatic Level?
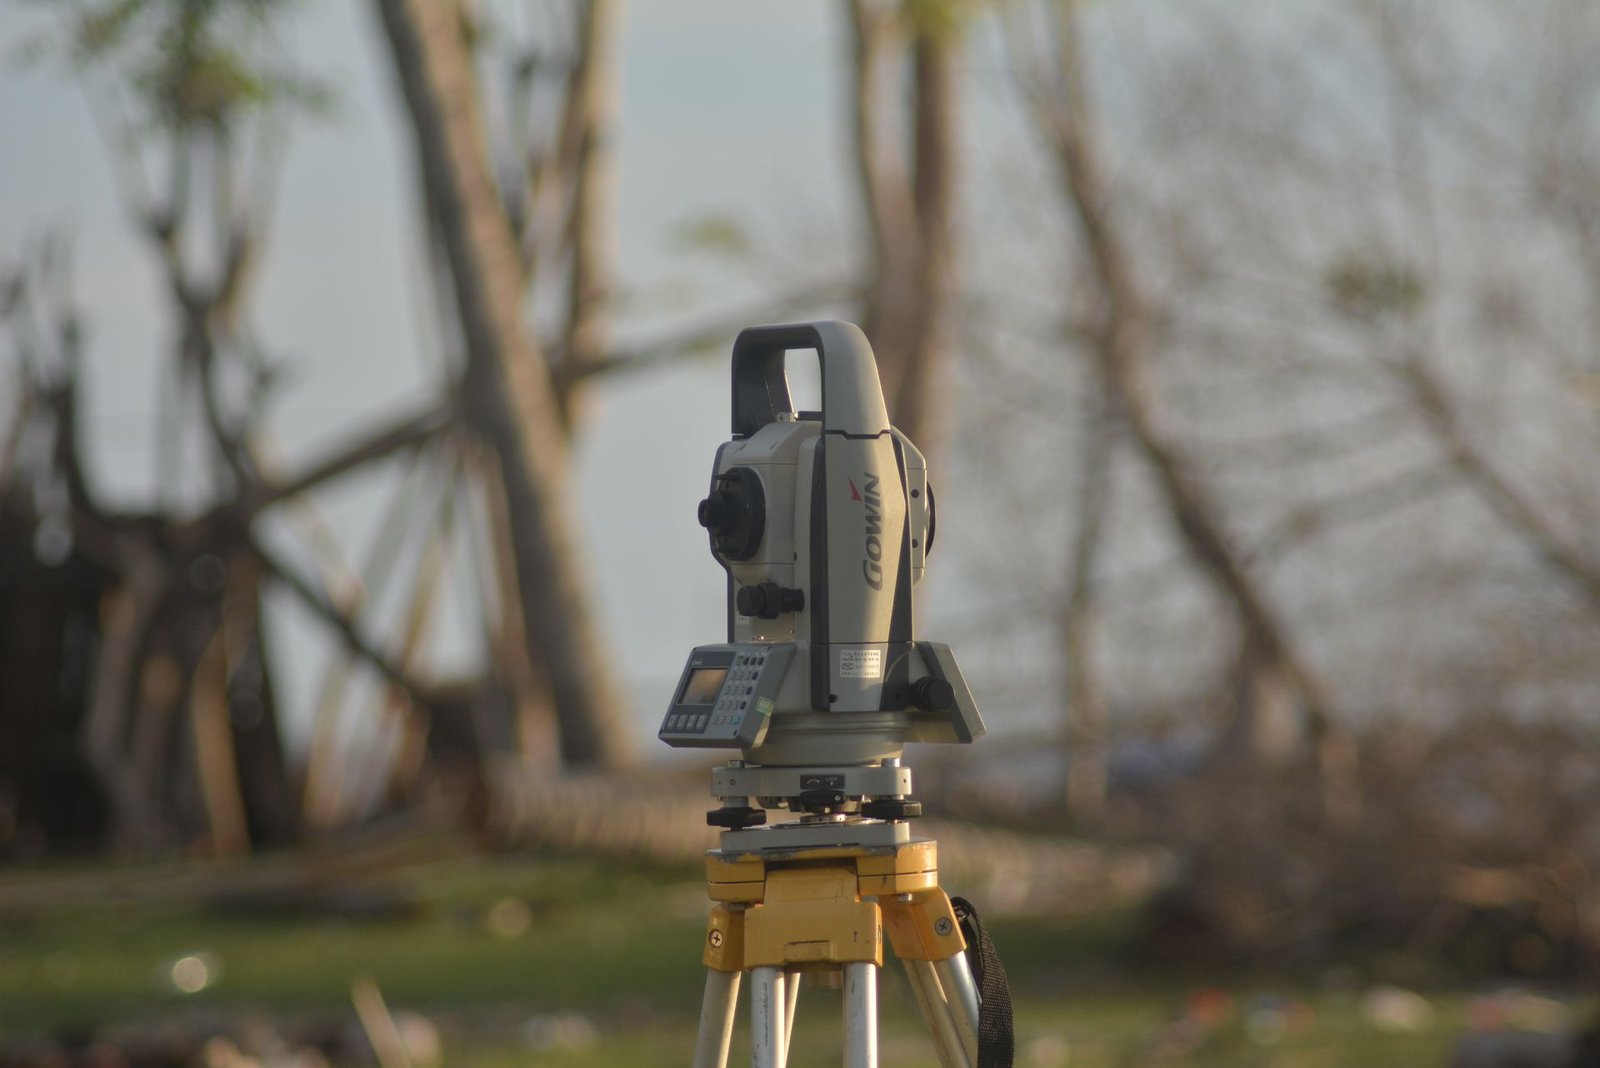
An automatic level is an optical surveying instrument used to measure height differences between points on a construction site. Its defining feature is a built-in compensator that automatically levels the line of sight once the instrument is roughly leveled using the circular bubble. This makes it faster and easier to operate than the older tilting level, which requires manual adjustment of a tubular bubble for every reading.
The instrument works by reading a graduated staff (leveling rod) held vertically at the point whose elevation is being measured. The difference between readings at two points gives the height difference between them. El-Eman Office provides a wide selection of automatic levels for purchase or trade-in, covering every accuracy class from construction-grade to precision monitoring.
Site Applications of the Automatic Level
The automatic level is one of the most frequently used instruments on any construction site. During earthwork, it verifies cut and fill depths against design grades. At the foundation stage, it checks the bottom-of-excavation level before blinding concrete is poured and confirms formwork heights before structural concrete placement.
During superstructure work, the level transfers benchmarks from floor to floor, verifies slab soffit elevations, and checks beam and column top levels. In finishing trades, it sets floor screed heights, determines drainage falls in wet areas, and controls ceiling grid levels. Road and infrastructure projects rely on it for verifying longitudinal and cross-slope gradients across pavement layers.
Setting Up the Instrument
Proper setup is essential for accurate results. Begin by planting the tripod firmly on stable ground, spreading its legs evenly and pressing the feet into the soil. Mount the instrument on the tripod head and center the circular bubble using the three leveling screws.
Verify that the compensator is functioning by gently tapping the telescope barrel and watching the crosshair. It should oscillate briefly and settle within two seconds. If the crosshair drifts or fails to return to center, the compensator may be damaged and the instrument should be sent for service. Learn more about our professional surveying services to see how we ensure reliable measurements on every project.
How to Measure Height Differences
The leveling procedure follows a systematic workflow. First, hold the staff on a known benchmark (BM) and take a backsight (BS) reading. Add this reading to the known elevation to obtain the Height of Instrument (HI).
Next, move the staff to the unknown point and take a foresight (FS) reading. Subtract the foresight from the HI to get the elevation of the new point. When measuring multiple points from one instrument setup, take intermediate sight (IS) readings and apply the same calculation. Always close the level run by returning to the starting benchmark or another known point and comparing the observed closure error against the allowable tolerance.
Sources of Error and Mitigation
Leveling errors fall into three categories: instrumental, personal, and natural. Instrumental errors include a maladjusted compensator or a bent staff. Personal errors include misreading the staff or not holding it plumb. Natural errors include atmospheric refraction and earth curvature.
To minimize errors, keep backsight and foresight distances approximately equal. This simple rule cancels out both collimation error and the combined effect of curvature and refraction. Use the staff bubble to verify verticality at every reading. Avoid leveling over hot surfaces such as asphalt or metal roofs during midday, when refraction distorts the line of sight. For information on how leveling work is priced, review our survey cost guide.
Choosing the Right Automatic Level
Automatic levels are available in several accuracy classes. For general construction, a level rated at 2.5 mm per kilometer double-run is sufficient. For precision tasks such as deformation monitoring, settlement tracking, or industrial alignment, choose a level rated at 0.3 to 0.7 mm per kilometer.
Key specifications to compare include magnification power (20x to 32x), compensator working range, and environmental protection rating. An IP55 or higher rating ensures the instrument can handle dust and rain on exposed sites. Higher magnification allows longer sighting distances but narrows the field of view, so match the magnification to your typical working range. To discuss which level suits your project, get in touch with our team for a free consultation.